This walkthrough covers a representative deployment path for a two-node, switchless Azure Stack HCI 23H2 cluster: installing the operating system, preparing the nodes, registering them with Azure Arc, and deploying the cluster from the Azure portal.
The example topology uses a RAID controller configured in JBOD mode, dedicated high-speed storage adapters, and separate backup and compute adapters. Hardware vendors, interface identifiers, addresses, and resource names are intentionally generalized; adapt every selection to your validated design.
Download and install Azure Stack HCI#
In the Azure portal, go to Azure Arc > Azure Stack HCI, then select Download Azure Stack HCI.
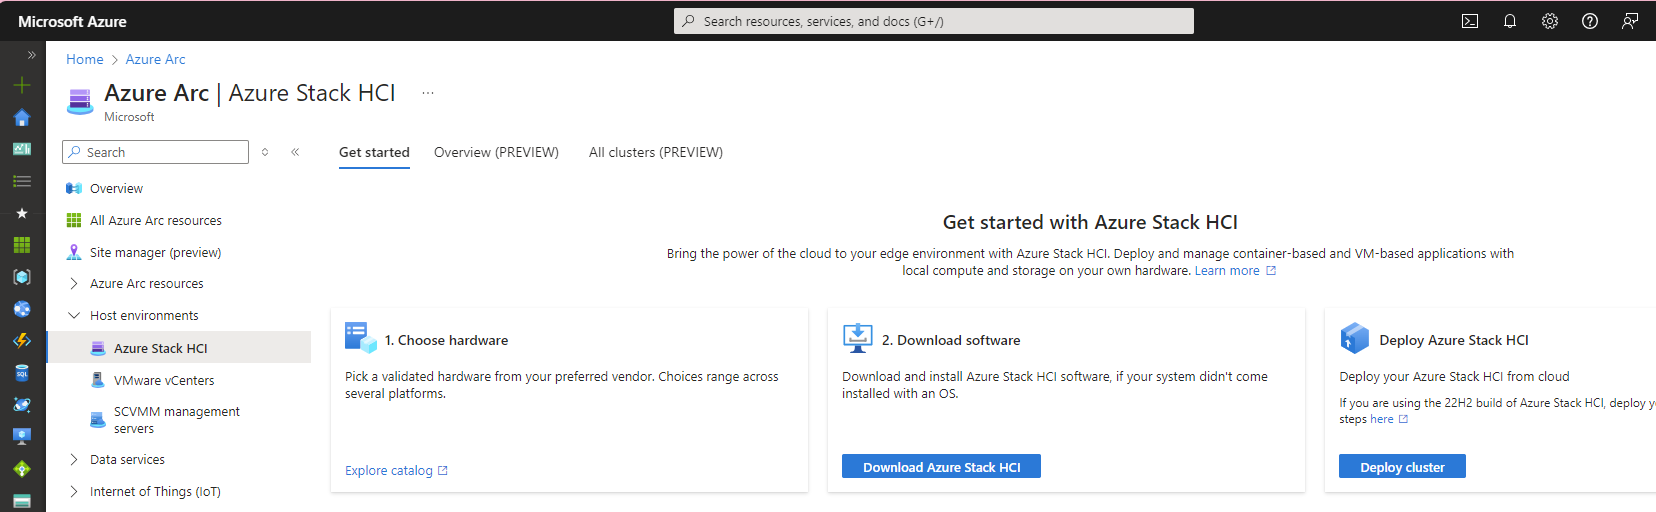
Select a version supported by your hardware and deployment plan, accept the terms, and click Download Azure Stack HCI.
Write the ISO to a USB device with Rufus or a similar tool, connect it to the server, and open the boot menu using the key documented by the hardware vendor.

Select the USB device and press Enter.
Choose the language, time format, and keyboard input, then click Next.
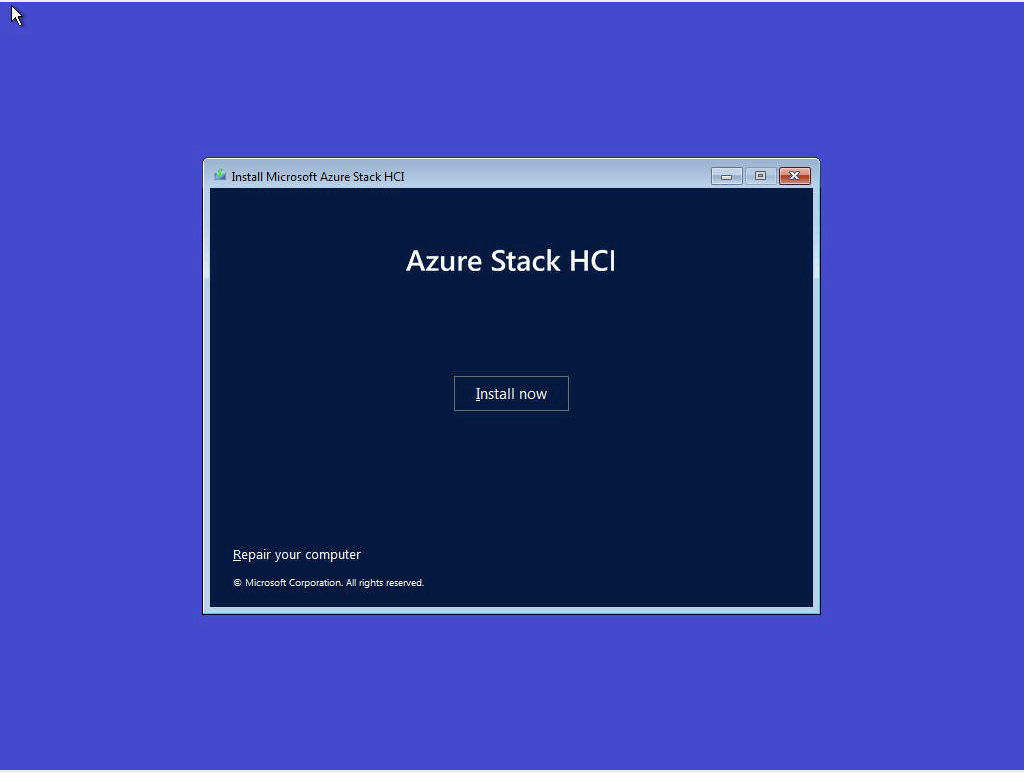
Click Install now.
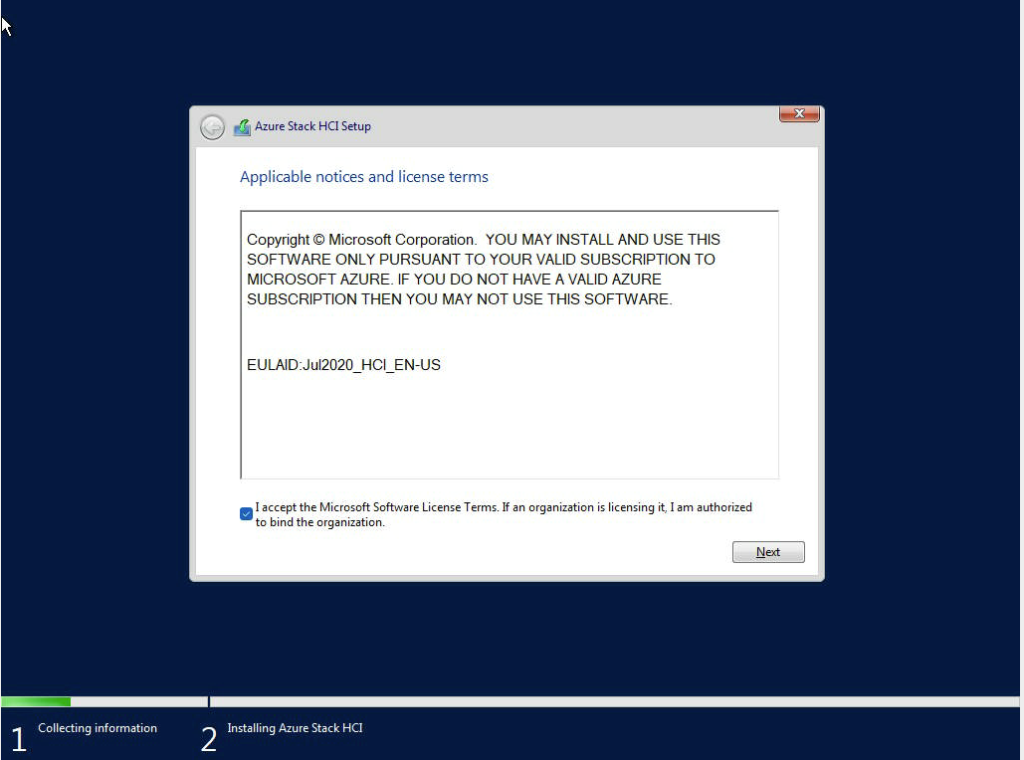
Accept the licence terms and click Next.
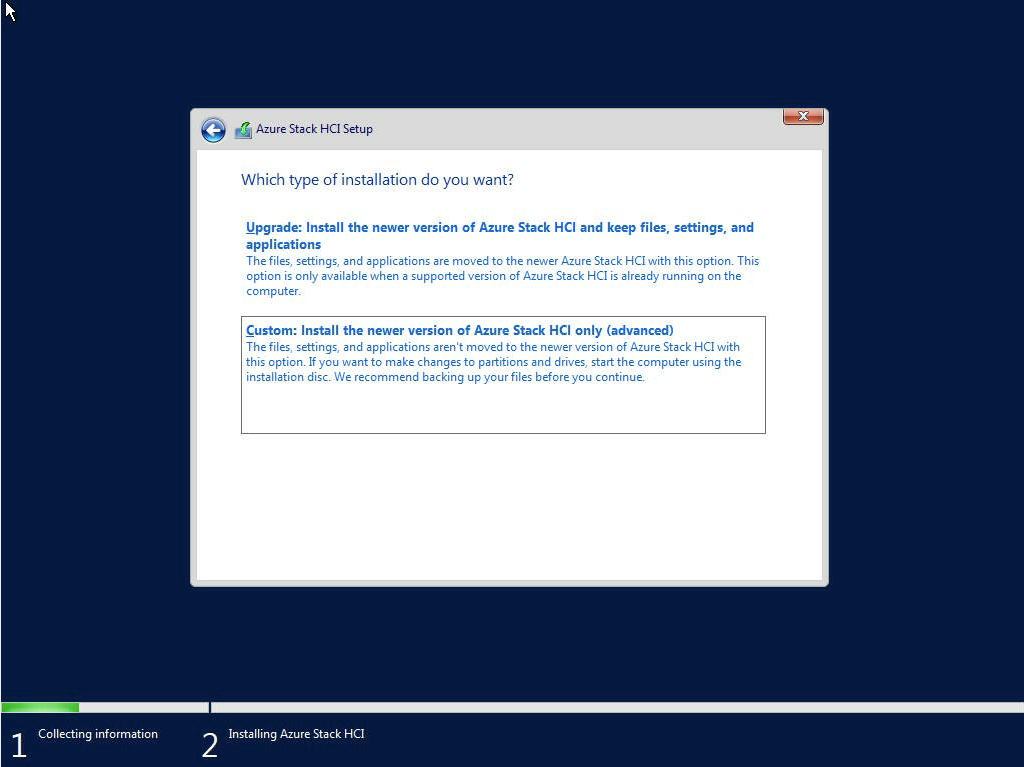
Select Custom.
Select the drive that will host the operating system and click Next. Depending on how a JBOD controller presents its drives, the installer may not display the expected full capacity; validate the selected device against the approved hardware layout before continuing.
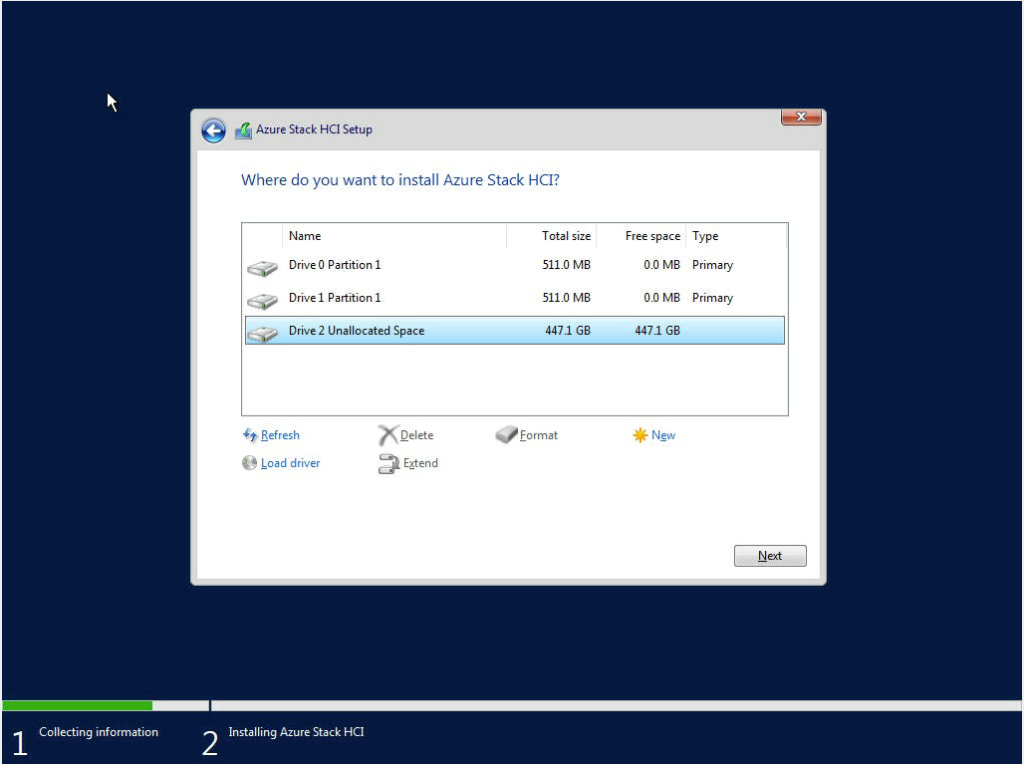
The installer now copies the files and installs Azure Stack HCI.
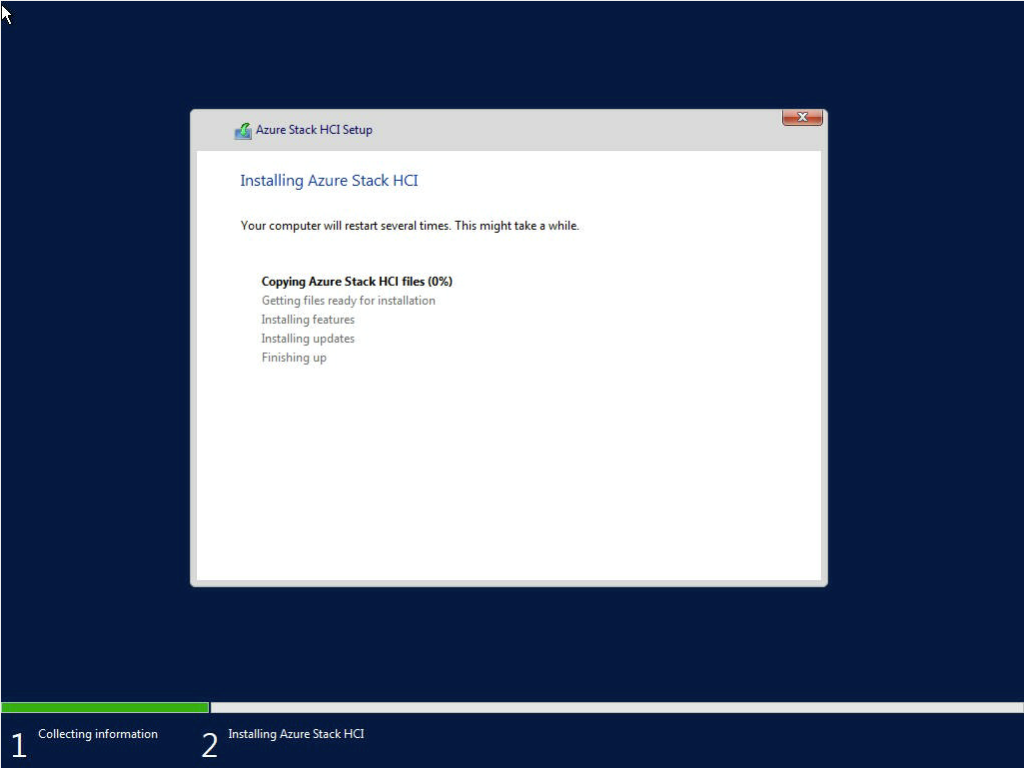
Perform the initial node configuration#
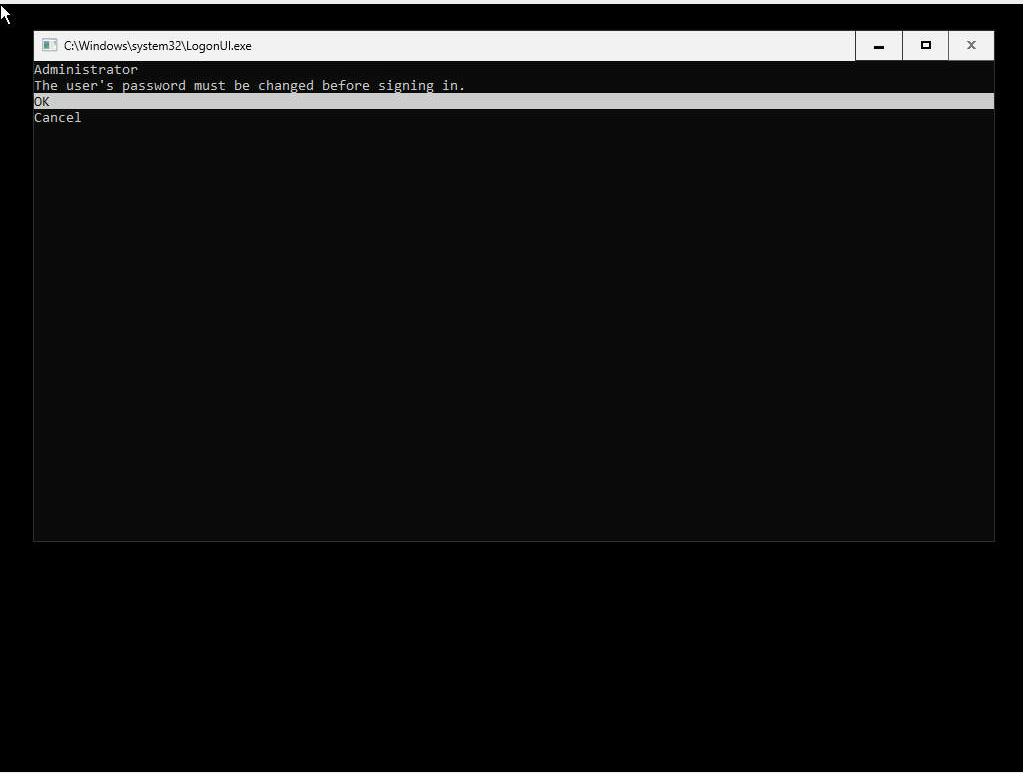
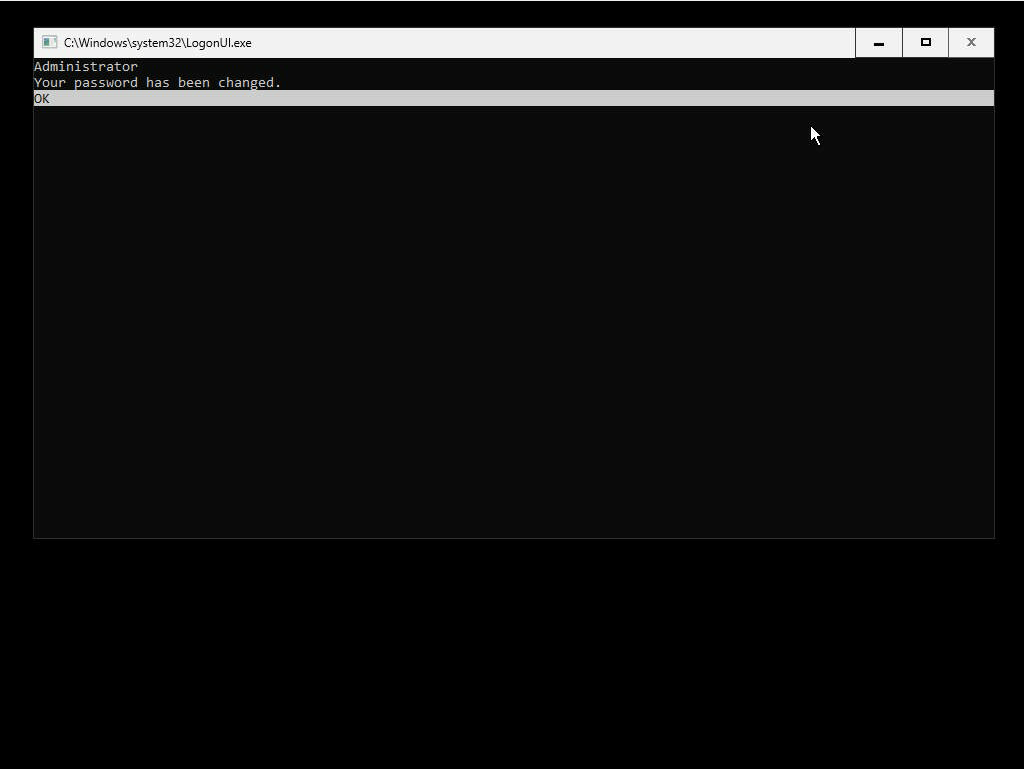
After the server restarts, set the local administrator password. Use the same password on every node in the cluster.
Enter the password twice and make sure it meets the Azure password requirements.
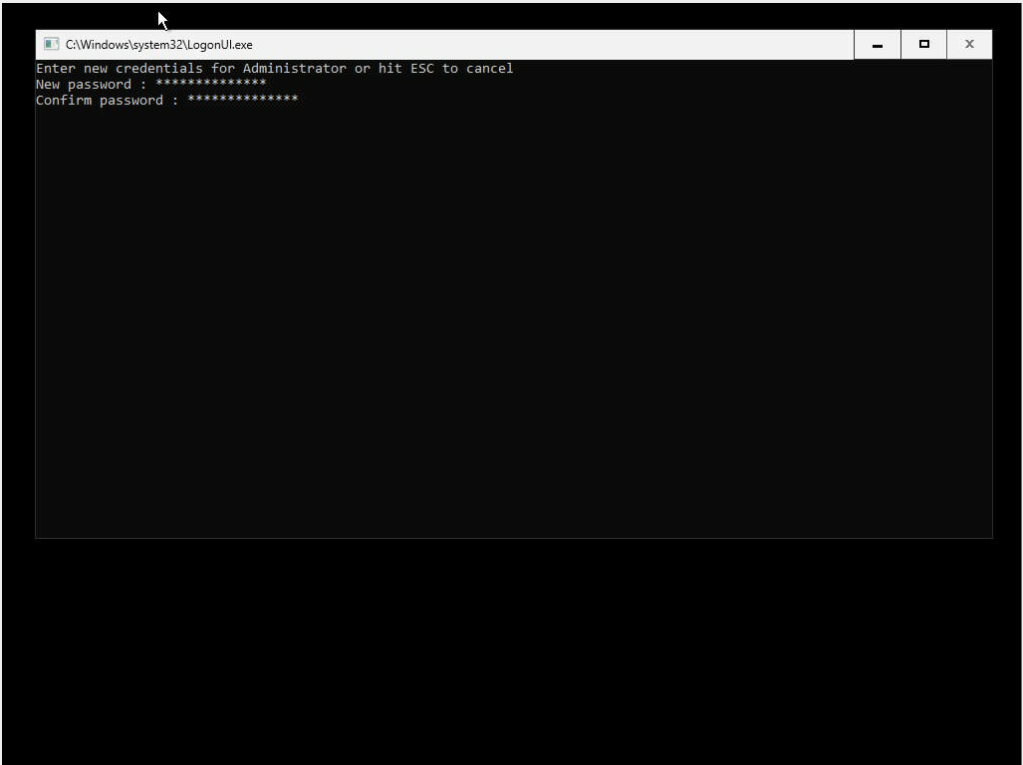
When the password has been changed, press Enter to continue.
Set the computer name#
From SConfig, enter 2 to change the computer name.
Enter the node name and press Enter.
SConfig prompts for a restart. Enter N for now; the node will restart after the remaining initial settings are in place.
Enable Remote Desktop temporarily#
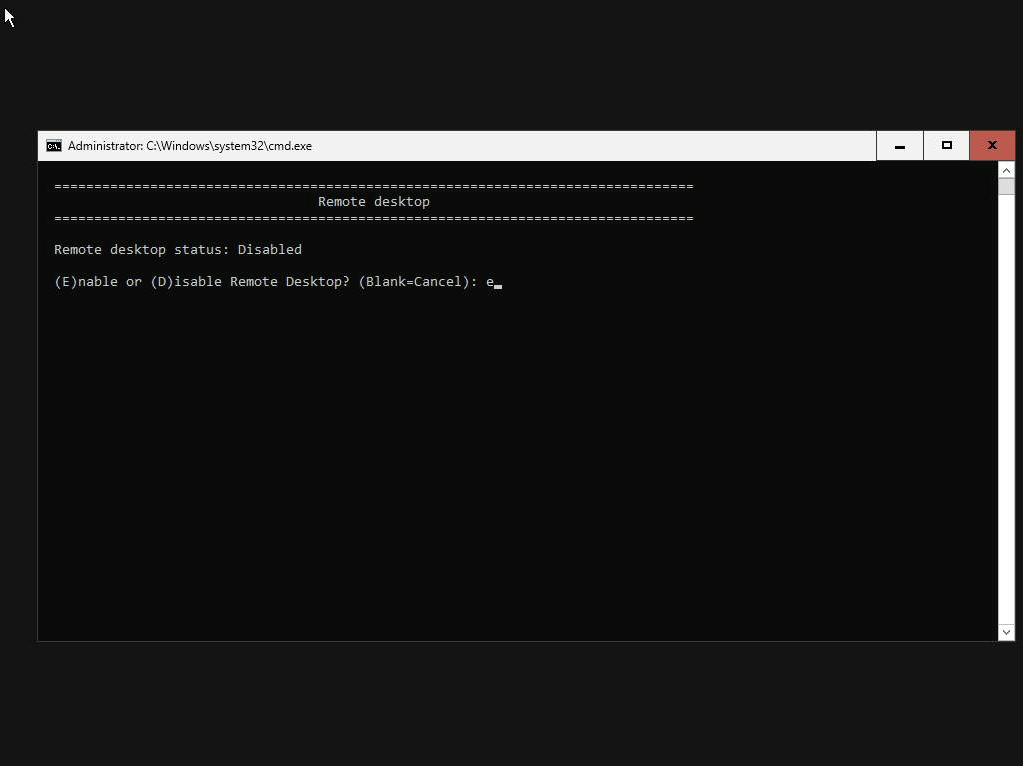
Enter 7 in SConfig to configure Remote Desktop.
Enter E to enable Remote Desktop.
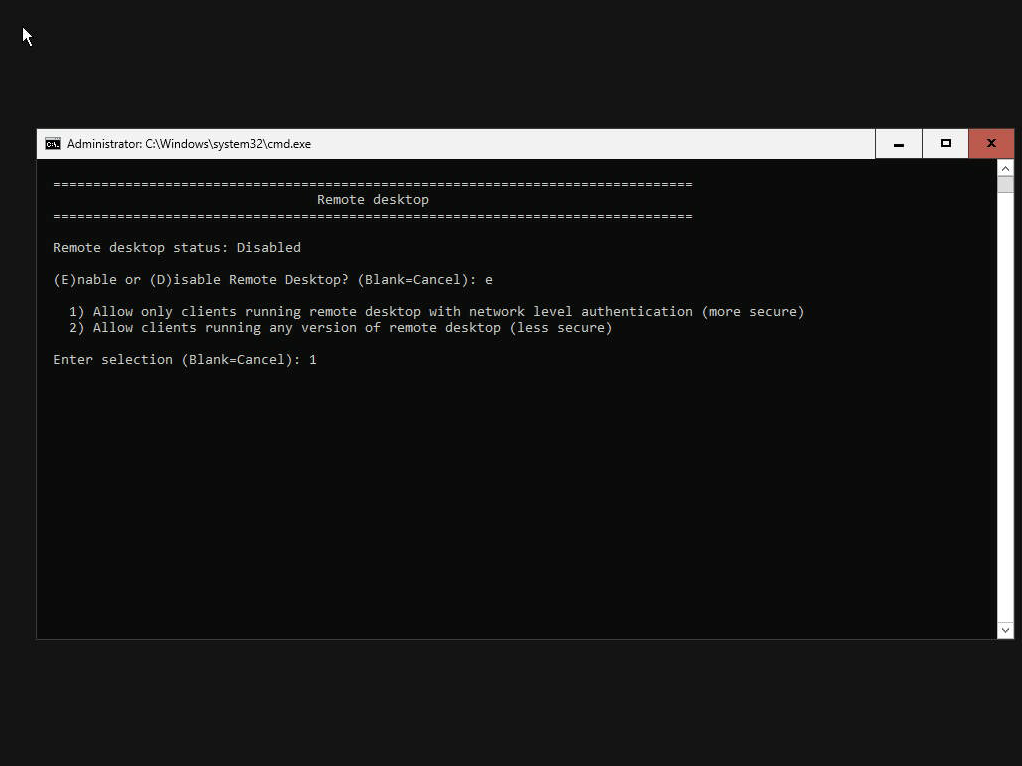
Enter 1 to allow clients that use Network Level Authentication.
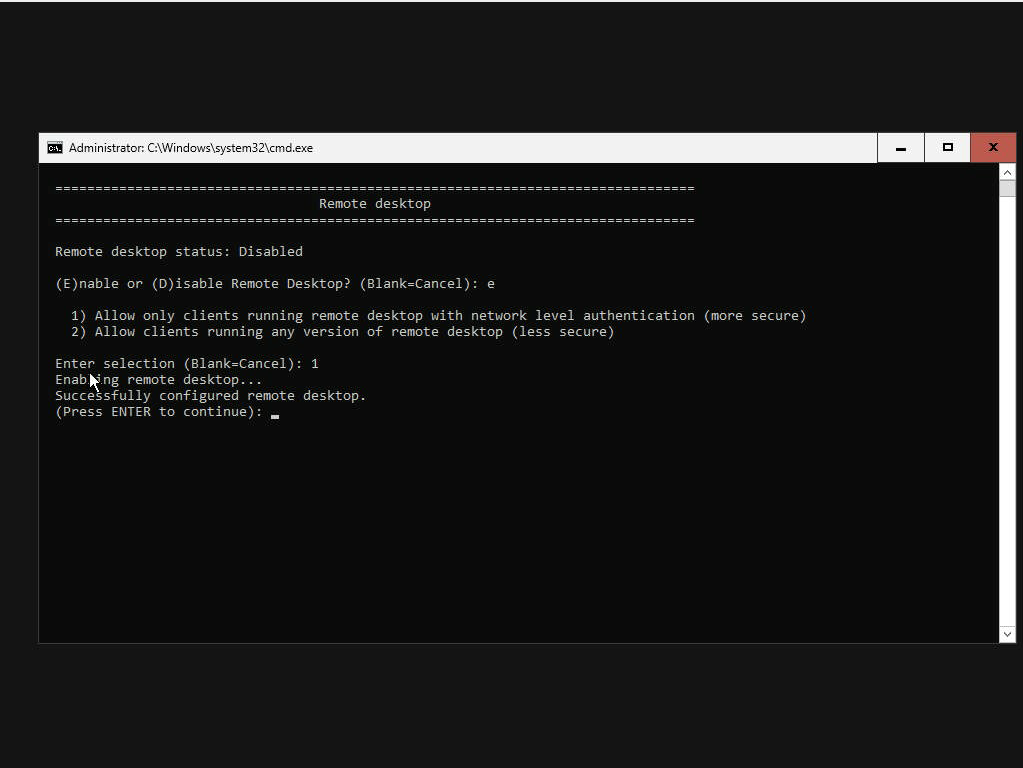
Remote Desktop is now enabled. Press Enter to return to SConfig.
Configure a static IP address and DNS#
Azure Stack HCI requires a static IP address. Enter 8 to open the network settings.
Select the management adapter identified in your interface and cabling plan. Do not rely on the adapter number from another server, because enumeration varies by hardware and driver.
Start with DNS by entering 2.
Enter the IP address of the preferred DNS server.
Enter the alternate DNS server address, or leave it blank if there is no second server.
Return to the adapter menu and enter 1 to configure the address.
Enter the static IP address, subnet mask, and default gateway.
Patch the node#
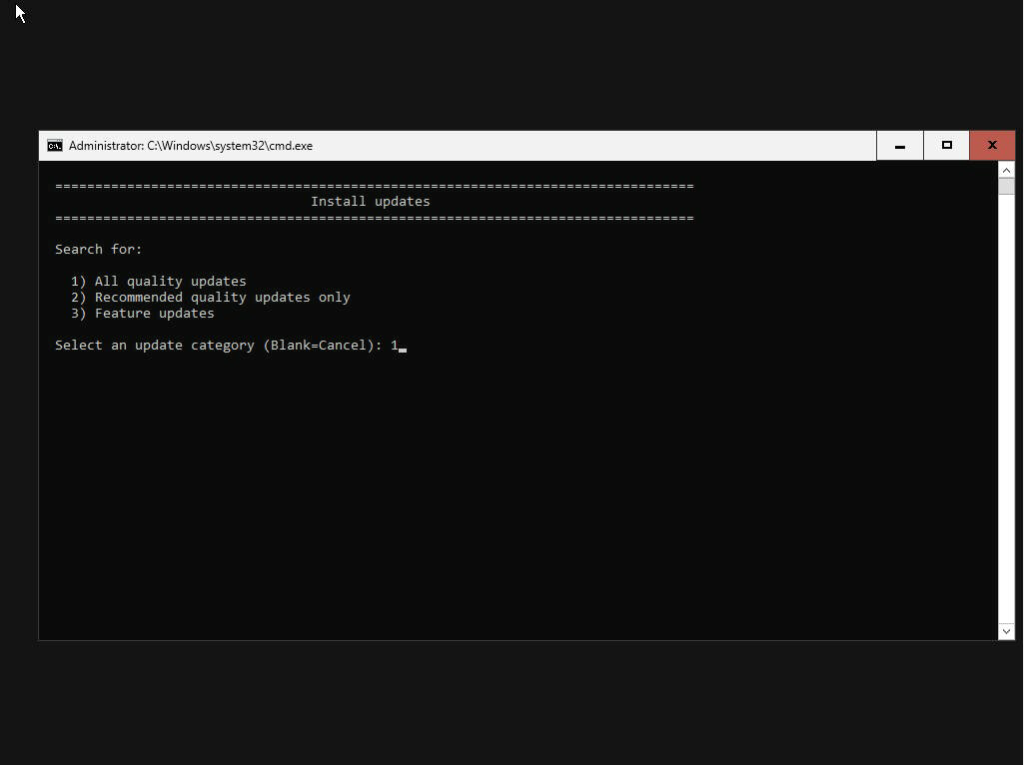
Return to the main SConfig menu and enter 6 to manage updates.
Enter 1 to search for all quality updates.
The node searches for available updates.
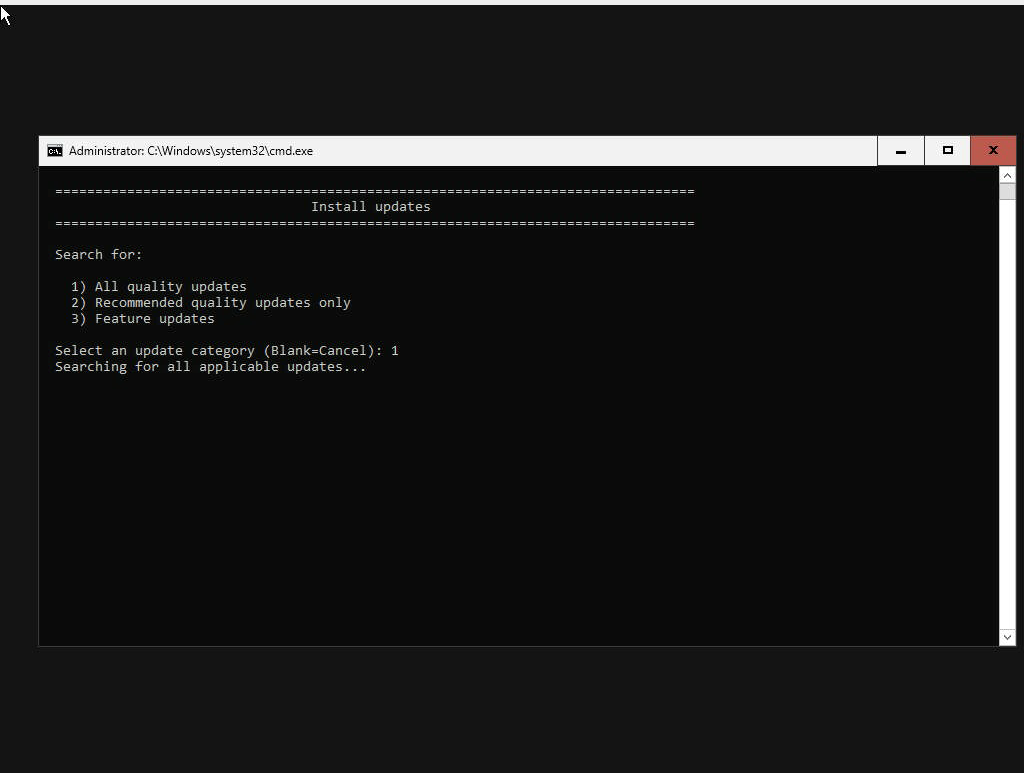
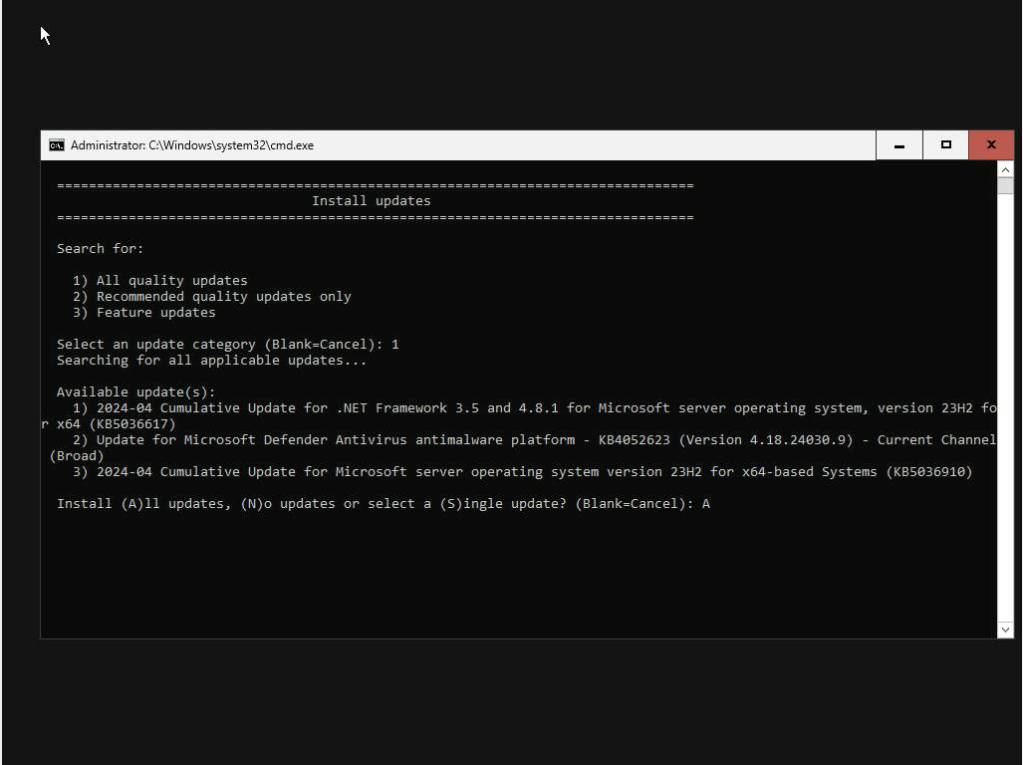
Enter A to install all listed updates.
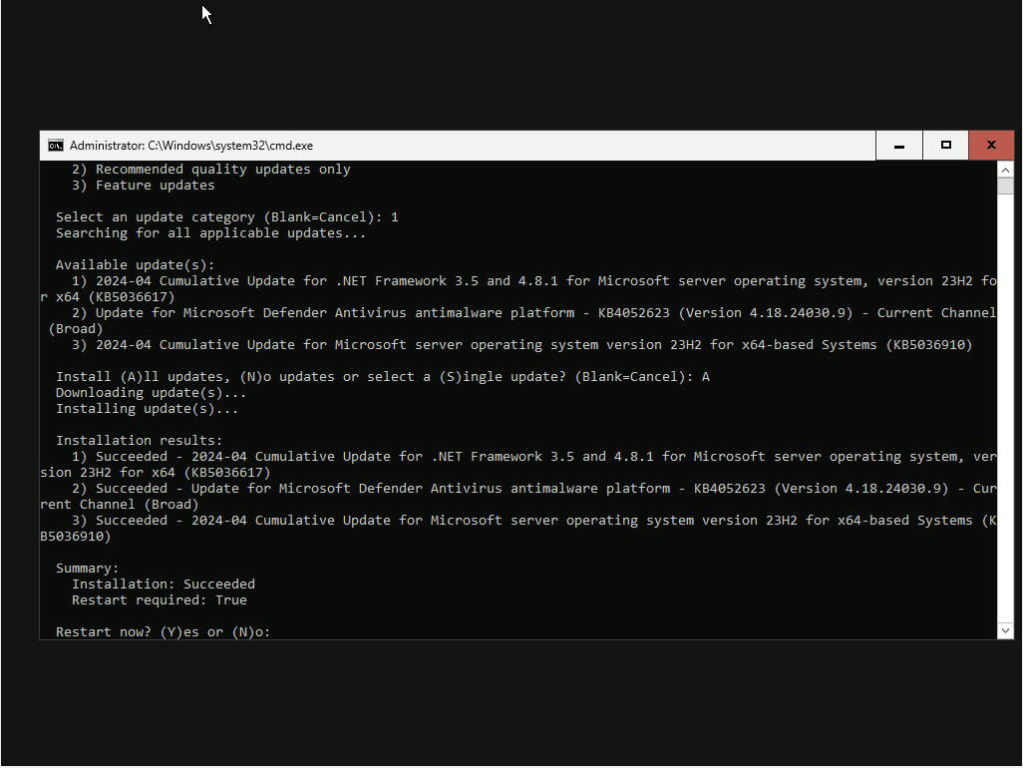
When the updates have finished installing, enter Y to restart.
Install hardware drivers and Hyper-V#
After the node is back online, connect with Remote Desktop and enter 15 in SConfig to open PowerShell.
One installation workflow temporarily disabled Windows Firewall on all profiles before transferring the drivers:
netsh advfirewall set allprofiles state off
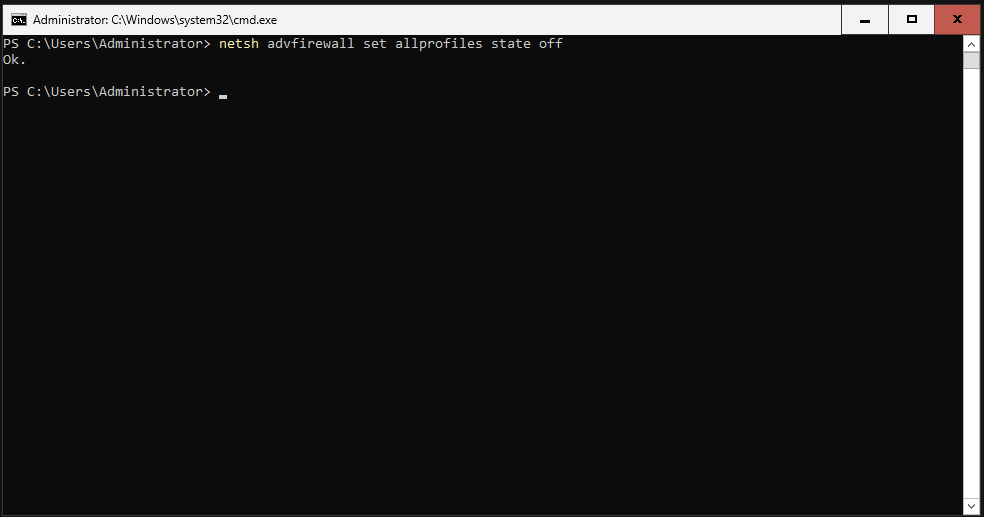
This is a historical record of the installation, not a recommended baseline. Microsoft recommends that you do not disable Windows Firewall. Prefer an approved software-deployment channel or a temporary inbound rule limited to the required protocol, active profile, and trusted source address. Treat an all-profile shutdown as a last resort only on an isolated node, with an approved change and the shortest possible exposure.
Copy the required drivers through an approved deployment channel. If an isolated setup requires SMB, scope access to a trusted source and remove that access immediately after the transfer.
If you use this last-resort approach, re-enable every firewall profile as soon as the transfer finishes:
netsh advfirewall set allprofiles state on
Start the vendor-supported NIC driver installer, replacing the placeholder with the extracted package path:
cd "C:\Temp\<NIC_DRIVER_PACKAGE>"
.\Autorun.exe
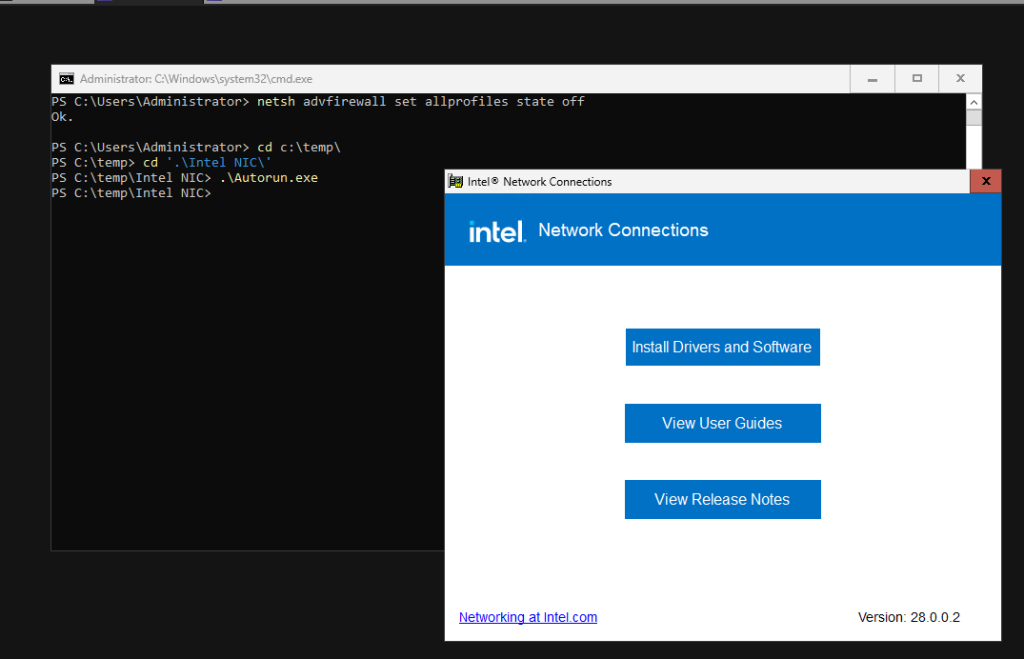
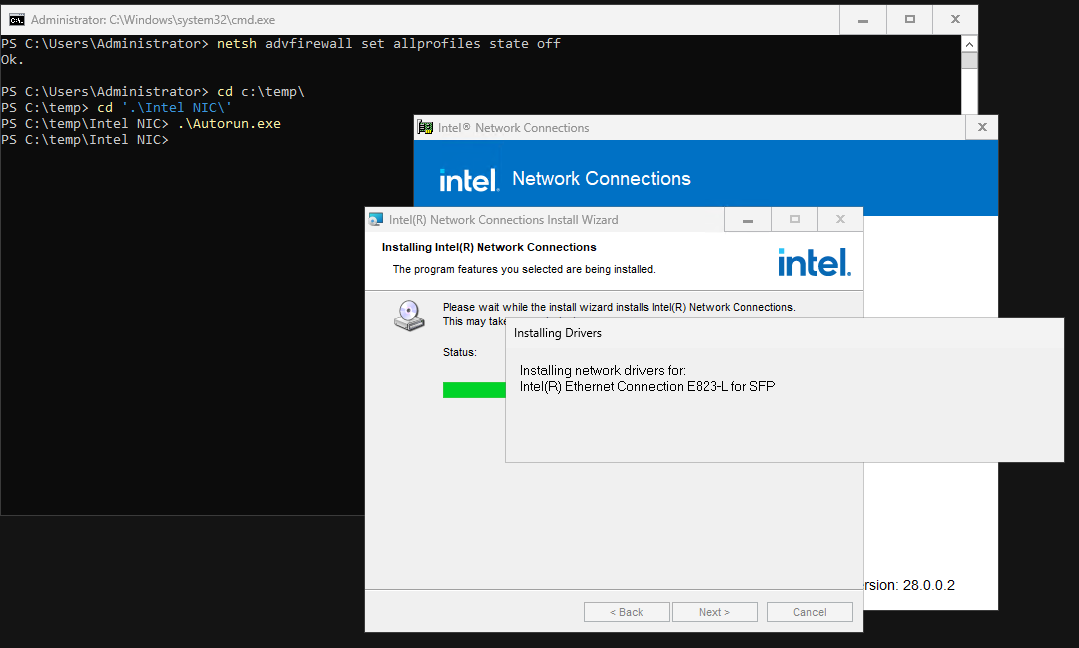
Complete the driver installation in the wizard.
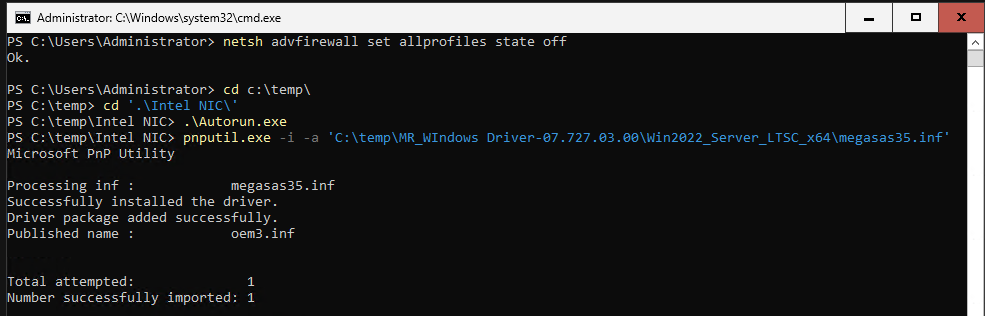
Install the vendor-supported storage-controller driver, replacing both placeholders with the package and driver names:
pnputil.exe -i -a "C:\Temp\<STORAGE_DRIVER_PACKAGE>\<DRIVER>.inf"
Enable the Hyper-V role before continuing. Without it, the later deployment stage reports the error shown in the screenshot.
Enable-WindowsOptionalFeature -Online -FeatureName Microsoft-Hyper-V -All

Verify and rename the network adapters#
List all network adapters:
Get-NetAdapter
Rename the high-speed storage adapters to Storage1 and Storage2, replacing the placeholders with the aliases returned by Get-NetAdapter:
Rename-NetAdapter -Name "<STORAGE_ADAPTER_1>" -NewName "Storage1"
Rename-NetAdapter -Name "<STORAGE_ADAPTER_2>" -NewName "Storage2"
Rename the dedicated backup adapters to Backup1 and Backup2:
Rename-NetAdapter -Name "<BACKUP_ADAPTER_1>" -NewName "Backup1"
Rename-NetAdapter -Name "<BACKUP_ADAPTER_2>" -NewName "Backup2"
Finally, rename the compute or converged management adapters to Compute1 and Compute2:
Rename-NetAdapter -Name "<COMPUTE_ADAPTER_1>" -NewName "Compute1"
Rename-NetAdapter -Name "<COMPUTE_ADAPTER_2>" -NewName "Compute2"
The names above are examples. A converged design may use names such as Management1 and Management2 instead. Match each placeholder to your own adapter descriptions, link speeds, physical ports, and cabling before renaming anything; never copy interface aliases from another environment.
Register each node with Azure Arc#
Register the default PowerShell repository and mark it as trusted:
Register-PSRepository -Default -InstallationPolicy Trusted
Install the Arc registration script and its required modules:
#Install Arc registration script from PSGallery
Install-Module AzsHCI.ARCinstaller

#Install required PowerShell modules in your node for registration
Install-Module Az.Accounts -Force
Install-Module Az.ConnectedMachine -Force
Install-Module Az.Resources -Force
Set the values for your environment, then connect to the target Azure subscription:
#Define the subscription where you want to register your server as Arc device
$Subscription = "YOUR_SUBSCRIPTION_ID"

#Define the resource group where you want to register your server as Arc device
$RG = "YOUR_RESOURCE_GROUP"

#Define the region you will use to register your server as Arc device
$Region = "YOUR_SUPPORTED_REGION"

#Define the tenant you will use to register your server as Arc device
$Tenant = "YOUR_TENANT_ID"


#Connect to your Azure account and Subscription
Connect-AzAccount -SubscriptionId $Subscription -TenantId $Tenant -DeviceCode
Get an access token and invoke the Azure Stack HCI Arc initialisation script. Current Az.Accounts versions return the token as a SecureString, as documented for Get-AzAccessToken. The initialisation command expects plain text, so convert the value only at the call boundary and remove both variables immediately afterwards:
#Get the ARM access token for the registration
$ARMtokenSecure = (Get-AzAccessToken).Token

#Get the Account ID for the registration
$id = (Get-AzContext).Account.Id

#Invoke the registration script. Use a supported region.
try {
    $ARMtoken = [System.Net.NetworkCredential]::new(
        [string]::Empty,
        $ARMtokenSecure
    ).Password

    Invoke-AzStackHciArcInitialization -SubscriptionID $Subscription -ResourceGroup $RG -TenantID $Tenant -Region $Region -Cloud "AzureCloud" -ArmAccessToken $ARMtoken -AccountID $id
}
finally {
    Remove-Variable ARMtoken, ARMtokenSecure -ErrorAction SilentlyContinue
}
Registration runs asynchronously. Wait for each node to appear as an Azure Arc resource in the portal before continuing.
Open each node and check its extensions.
Continue only when all four extensions report Succeeded.
Validate and deploy the cluster#
Prepare the Active Directory organisational unit that will contain the nodes. Apply your organisation’s approved inheritance and security-baseline policy; blocking GPO inheritance is a design decision, not a universal requirement.
Return to the Azure portal and select Deploy cluster.
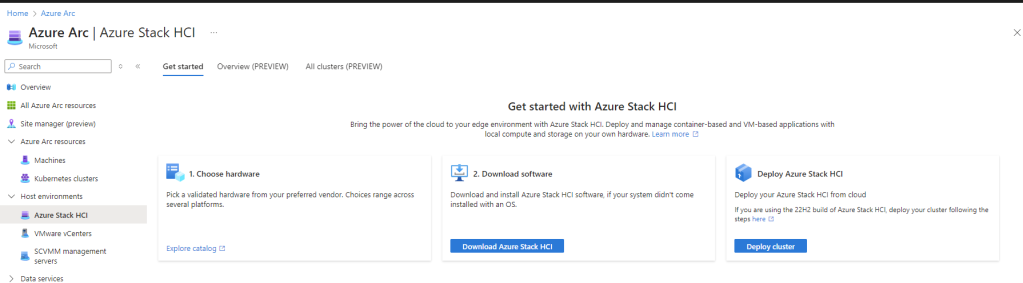
Enter the cluster details, select the resource group that contains the Azure Stack HCI nodes, choose Validate selected servers, and click Next.
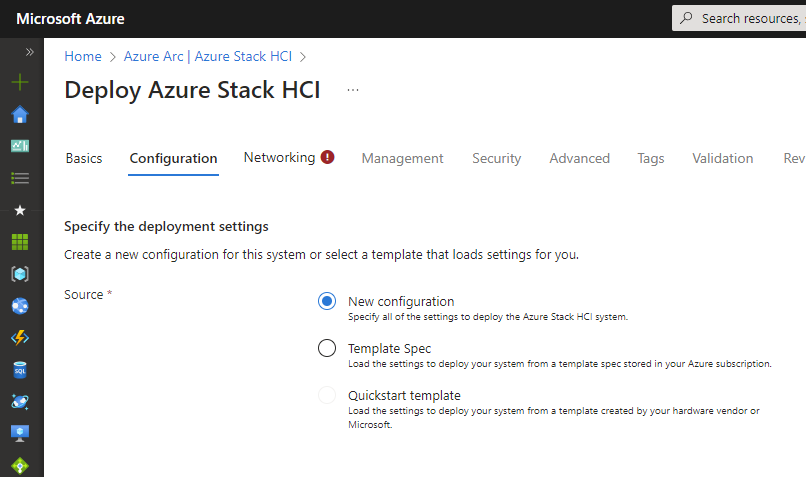
Under Configuration, select New configuration and click Next.
Because this is a two-node switchless cluster, select No switch for storage.
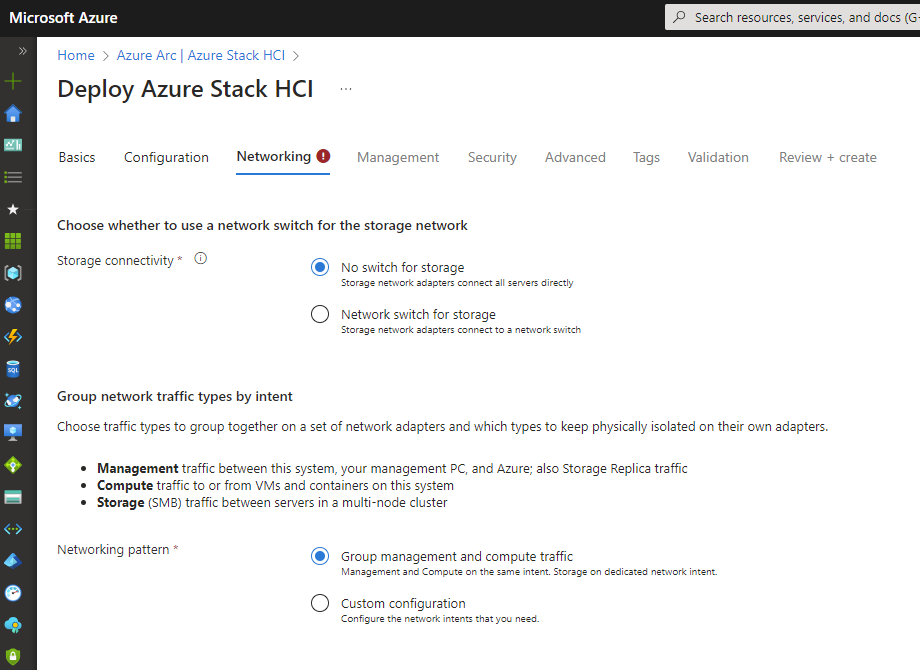
Select the adapters for each traffic type.
Enter the IP configuration for the Azure Arc services and click Next.
Enter the Active Directory join information for the cluster and click Next.
Keep the recommended security settings and click Next.
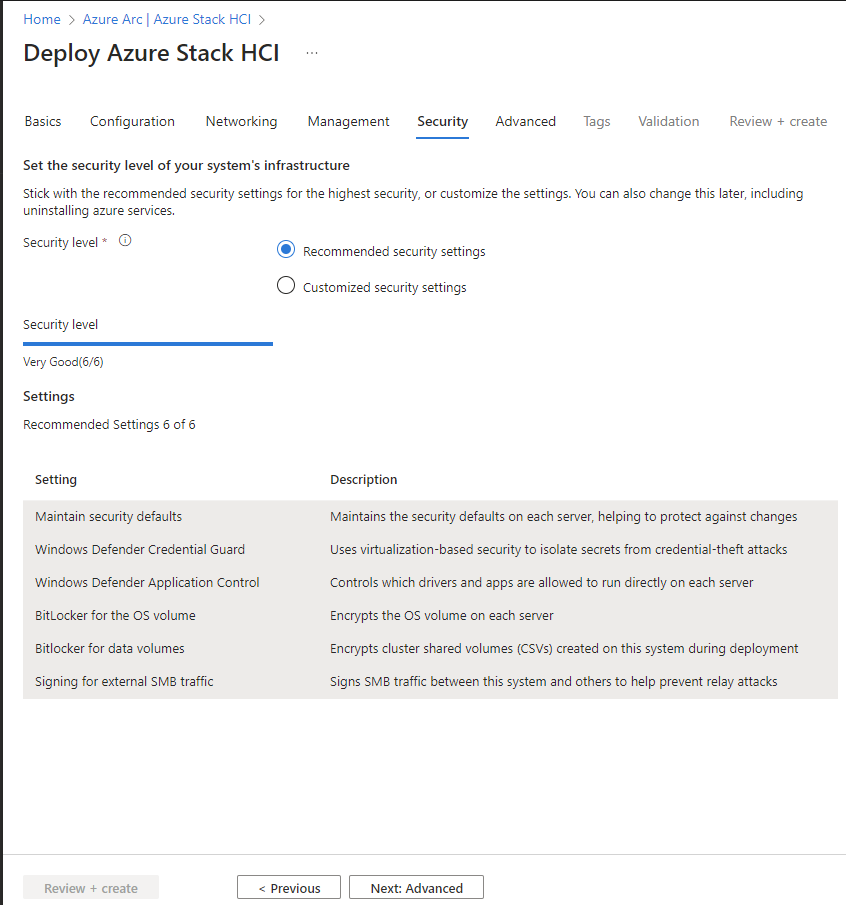
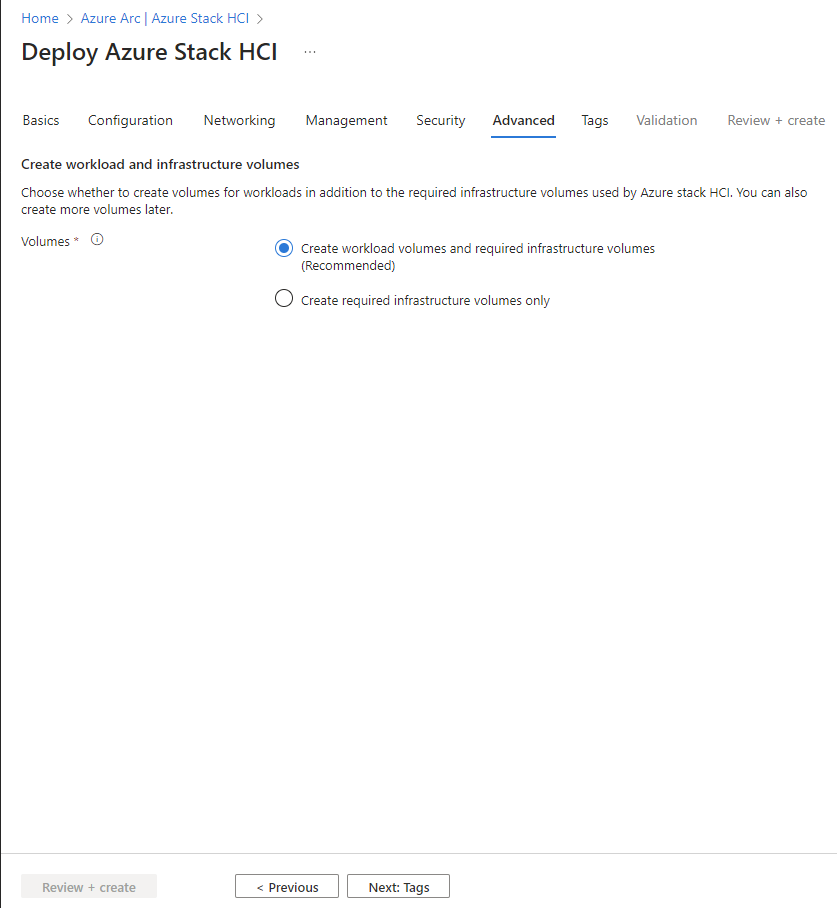
Keep the default advanced settings and click Next.
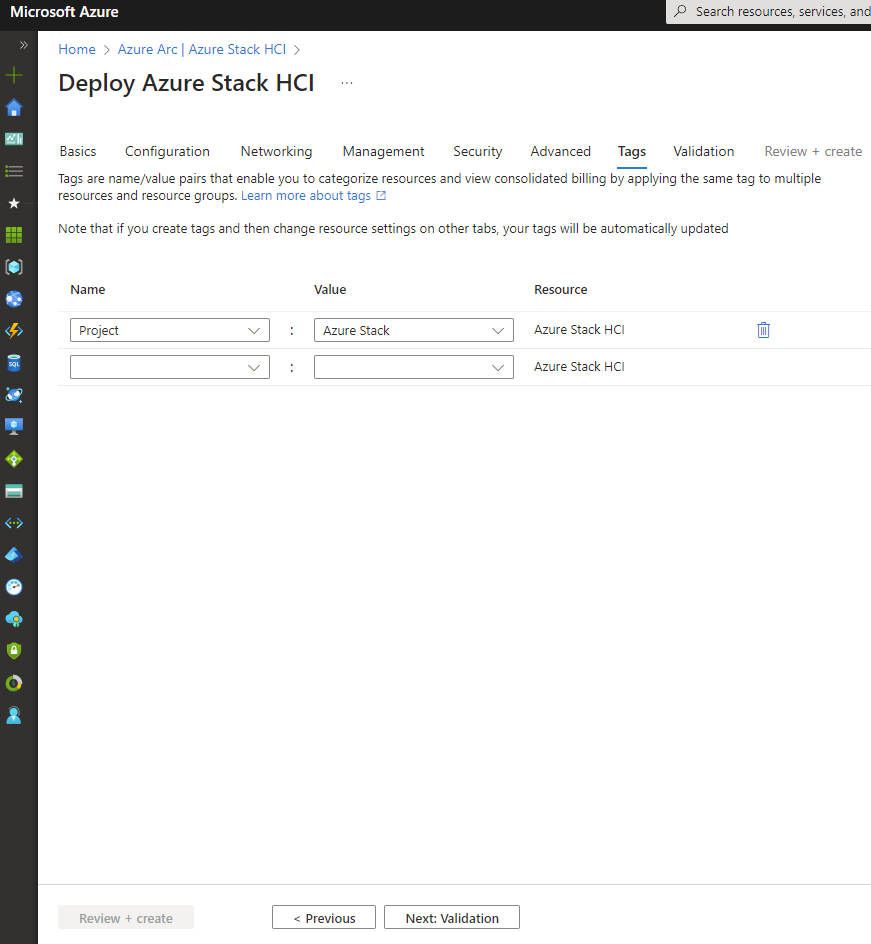
Create the mandatory tags and click Next.
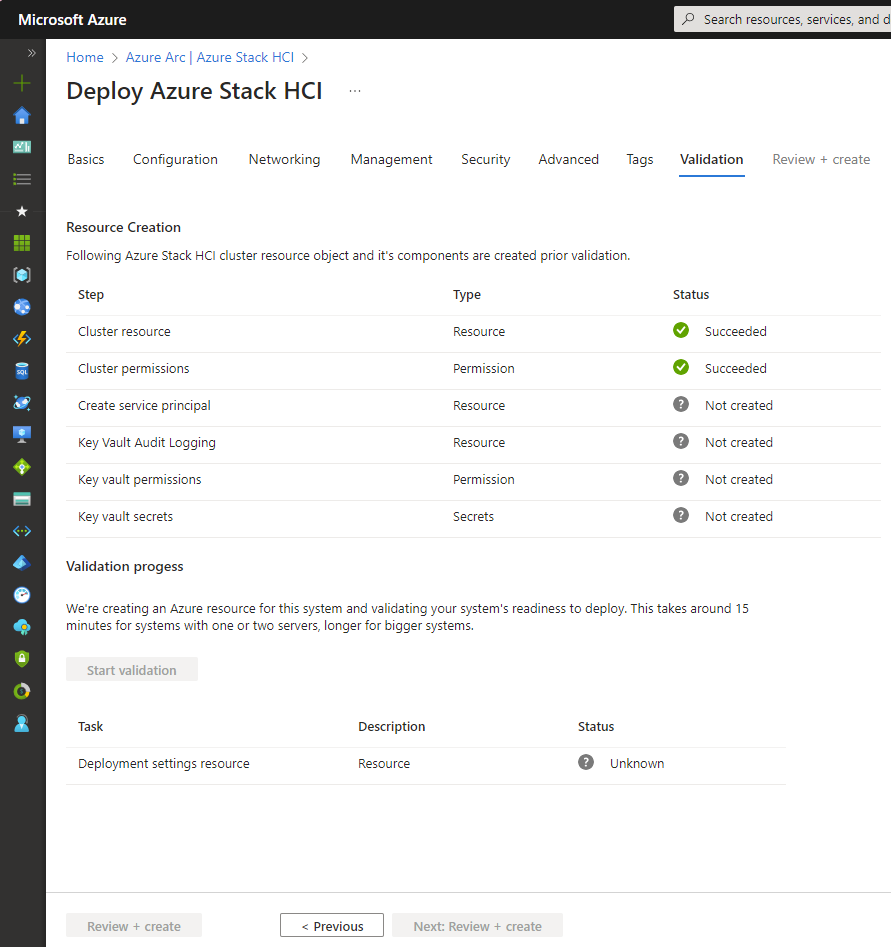
Azure validates that the required cluster objects have been created.
Click Start validation to run the cluster checks.
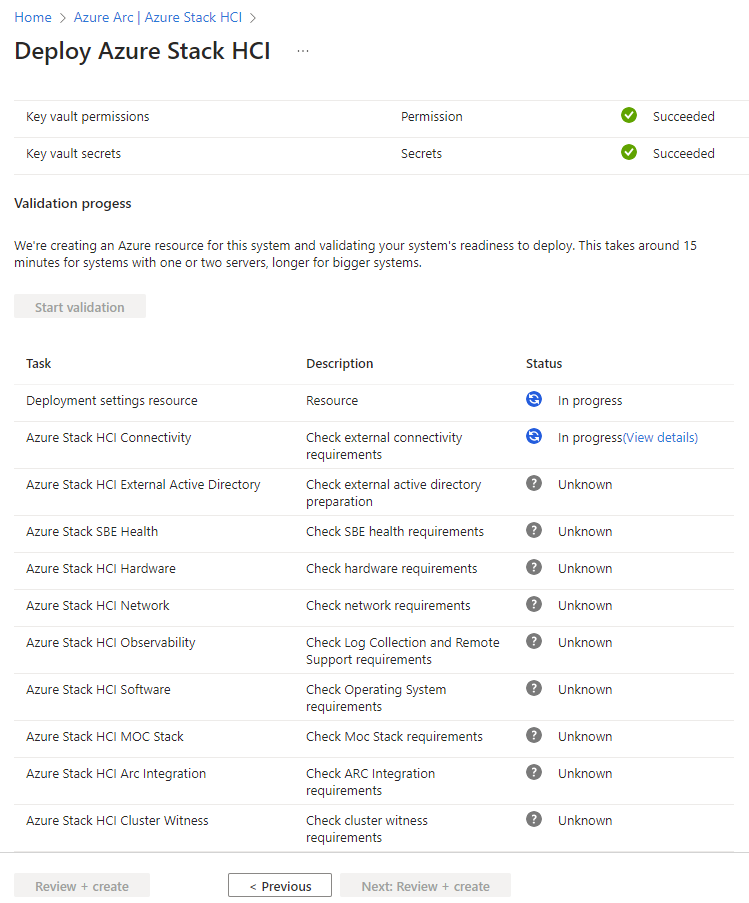
When validation completes, click Review + Create to deploy the cluster.
In Active Directory, the nodes are joined to the domain and the failover cluster object appears in the target OU.
The Azure portal should now report the cluster as successfully deployed. Verify the cluster resource, node health, and expected Arc extensions before handing the system over for use.
Remove temporary setup access#
If you enabled Remote Desktop only for this setup, disable it again on every node now. In SConfig, enter 7, then D, and confirm that Remote Desktop reports Disabled. If operations still require RDP, manage that access through your organisation’s approved controls instead of leaving the temporary setup path open.
Result#
At this point, both nodes are patched, have the required hardware drivers and Hyper-V role, are registered with Azure Arc, and form a validated two-node switchless Azure Stack HCI 23H2 cluster. The most important checks before deployment are the physical-to-logical NIC mapping, successful status for all four Arc extensions, and a clean result from the portal validation.